How to Give Your Garage a Magical Makeover
After living through the pandemic this year, I’ve been thinking about how to make our home a more magical space. One of my home renovation projects was to give our garage a magical makeover. I wanted to create a multi-functional space that could serve as both a personal roller skating rink and a space to work on my crafts.
This project took a few weekends to complete. You can watch the makeover in action by watching the video below. Keep on reading for a more detailed write up.
Materials:
- Wood planks (we bought the cheapest fence boards at our local hardware store): ~$150
- Wood stain (we used Varathane’s Golden Oak, Classic Black, and Carbon Grey): ~$24
- Miter saw
- Sandpaper
- Wall paint: ~$20
- Concrete paint: ~$30
- LED Light Strips + Connectors*: ~$60
In total, this project cost us about $300.
*I recommend using the same brand for your light strips if you want consistency in the lighting colors. We realized we didn’t have enough strips about halfway through, and ended up using 2 different brands. There’s a slight color variations between the two.
Step 1: Prepping
When we first moved into our house, the garage was pretty much bare bones. We had covered up one of the walls with some cheap stick-on wallpaper but over time it started falling off. The other wall consisted of uneven drywall. We decided we wanted one giant chalk wall and one wood accent wall.


We took out nails, spackled holes, and sanded the walls down as smoothly as we could. Here’s where I need to make it abundantly clear that we are hobbyists and not professionals. A professional would have probably invested in more time and materials to get the walls perfectly smooth, probably by adding a layer of plaster over the drywall. We were okay with skipping that. Our primary motivation for this project was to improve the appearance of our garage without breaking the bank.

Step 2: Painting
We painted one wall with black chalk paint and the other with regular wall paint. We planned on nailing boards over the second wall and didn’t want bits of white from the drywall peeking through.

Step 3: Wood Accent Wall
For the wood accent wall, we bought some cheap fence boards. We used a saw to trim off the rounded ends.

Then we stained the boards with tan, black, and grey wood stain. Since we planned on painting over the garage floor, we weren’t too concerned with laying down any drop cloths.

Once the boards dried, we cut them into varying lengths. I proposed measuring and cutting them into specific lengths. My partner, on the other hand, preferred to wing it. He just kind of eyeballed it and cut them. Then we nailed them to the wall starting from the bottom up.
One thing to note is that walls aren’t always completely even. We discovered that our wall tapered and was bigger on one side than the other. Some of our boards were also slightly warped. This meant despite our best efforts, our wood accent wall wouldn’t necessarily look level. All things considered, I think we did a pretty good job and it looks much better than before.

Step 4: Garage Floor
Before painting your floor, you should check to see if it’s been sealed before. You can tell by doing a water test. If the water is quickly absorbed, your floor hasn’t been sealed. If the water beads up, your garage floor has likely been sealed before.
If it’s been sealed, you’ll need to etch or sand your garage floor first so it’s porous enough to absorb any paint or stain. Our floor hadn’t been sealed before so we were able to paint right over it.


If you want your floor to last longer, you should consider sealing it after you paint it. This will prevent it from getting discolored or damaged. We decided against sealing ours in case we later decided to sell and needed to paint the floor a more neutral color. I planned on using the garage as a roller skating practice space so I knew it would get dinged up anyway.
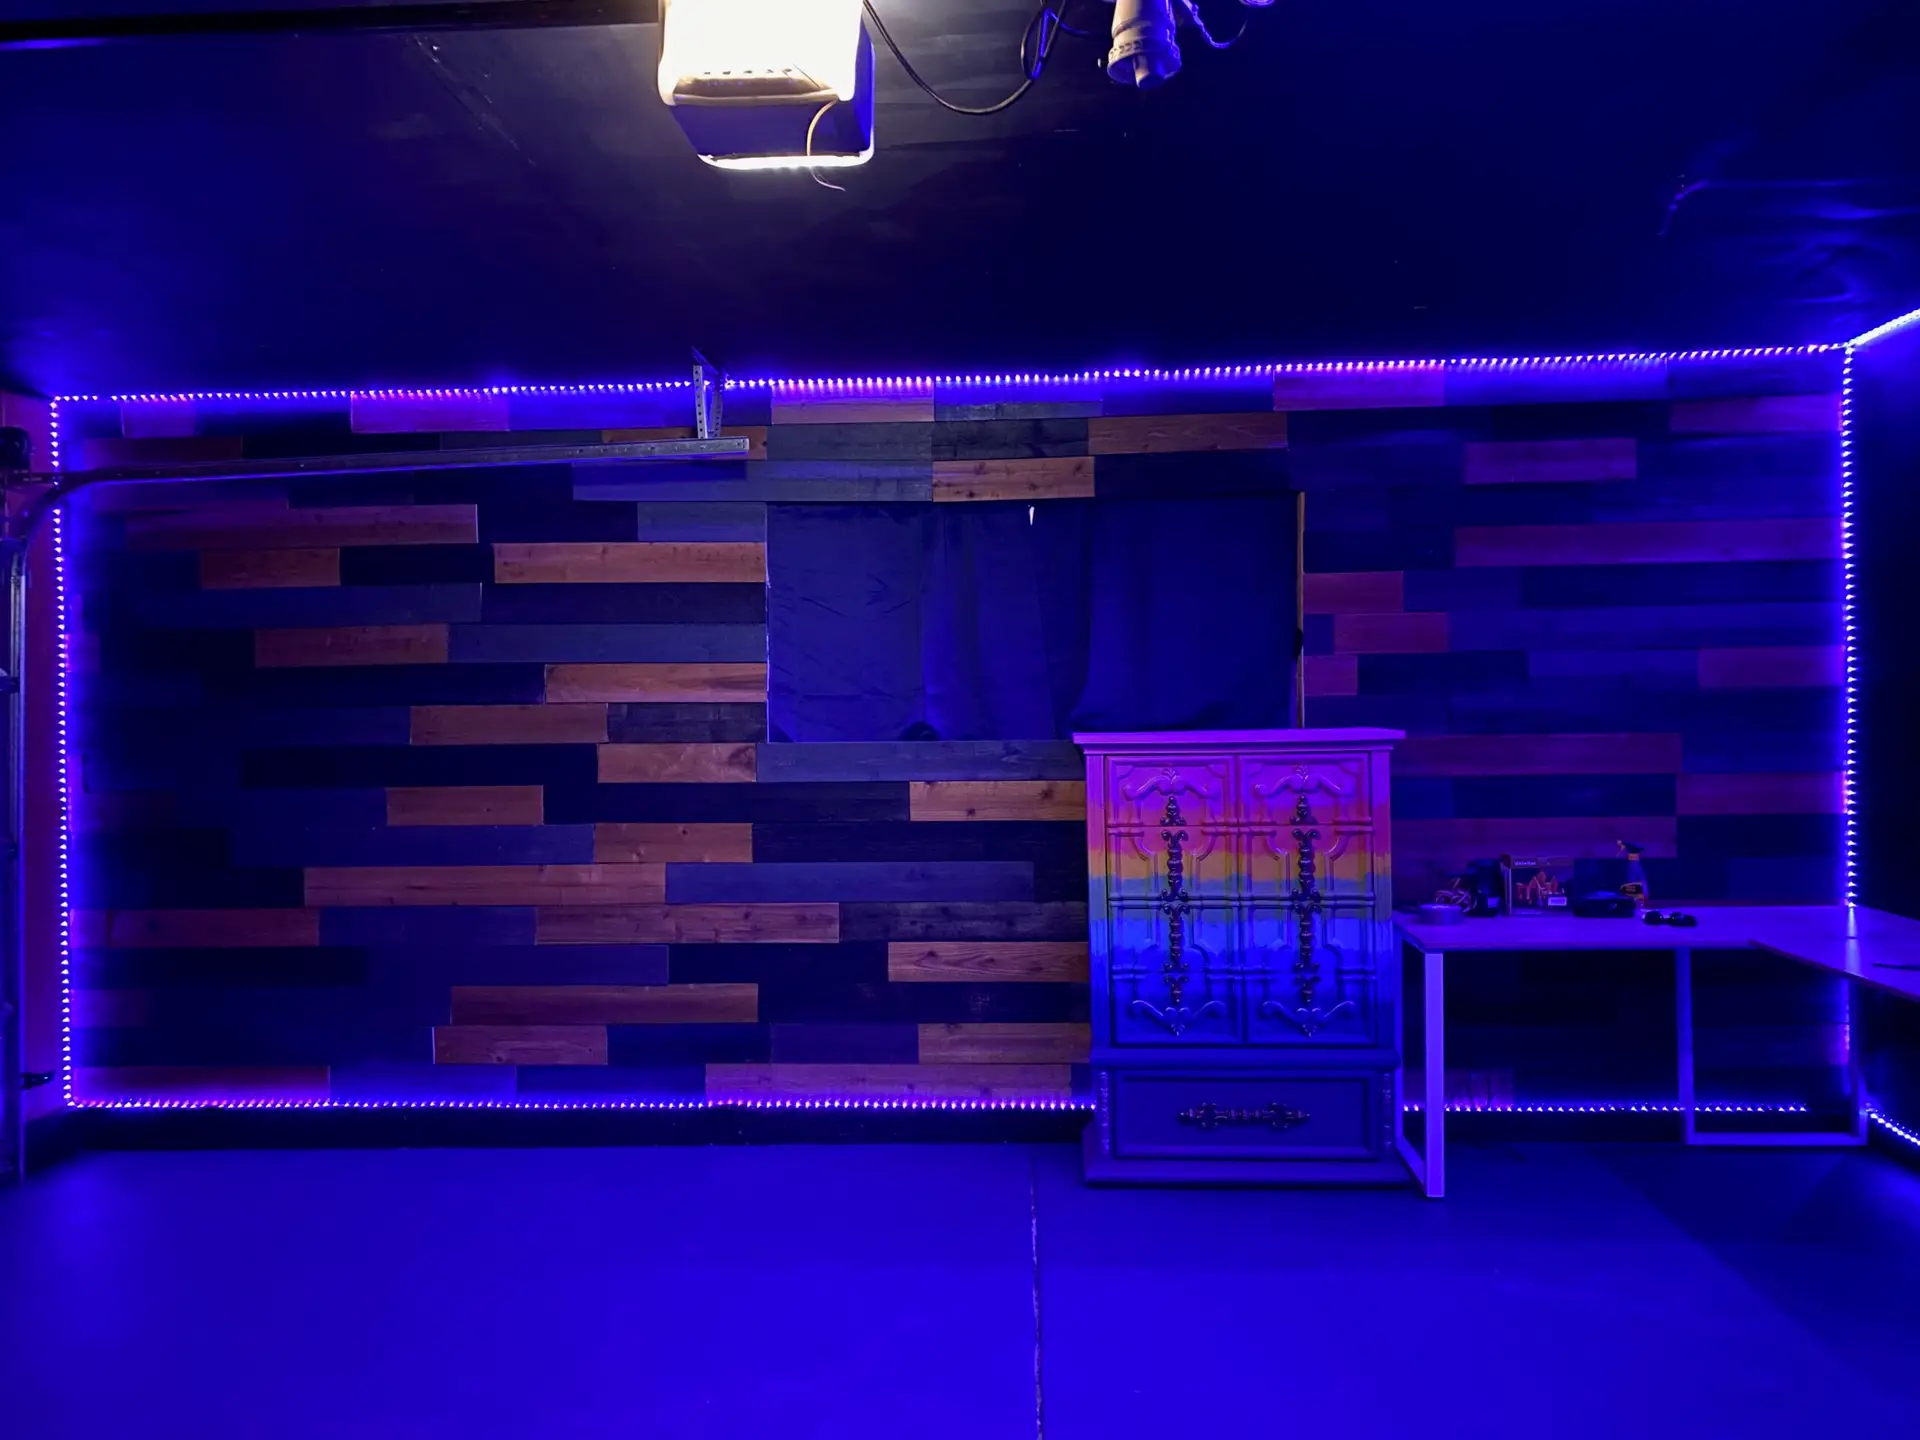
Step 5: Lighting
The last thing we did was border each wall with some LED lighting strips. As I mentioned earlier in this post, I recommend using the same brand if you care about consistency in the colors. There’s some slight color variation in the different strips we used, but it didn’t bother us too much.


I also got some blackout curtains for the window and painted the floor trim with black paint. I put my craft desk and rainbow dresser in the corner. Now I have a fun space for crafting and roller skating! My partner always jokes that he feels like he’s walking into a rave every time he goes into the garage.
Similar Posts
