How to Make a Magical Rainbow Dresser
When I saw this dresser on the street, I had to rescue it! It had some slight damage, but I was confident I could restore it and give it a new look. I’m happy to report I was successful in creating my very own magical rainbow dresser.

Watch the makeover in action in the video below!
Materials Used:
- Sandpaper of various grits
- Sanding sponge
- Orbital sander
- Zinsser 1-2-3 Primer
- Valspar color samples: Cosmic Pink, Dutch Tulip, Rapids, Vintage Teal, Sumptuous Purple
- Rust-oleum Vintage Gold Spray Paint
- Craft Smart Metallic Paint: White Pearl and Radiant Gold
- Paintbrushes, sponges, paint rollers
- Mixing bowls
- Minwax Polycrylic Protective Finish
Step 1 – Sanding and Cleaning:
I removed the hardware and sanded the dresser. Since I was painting over the dresser, there wasn’t a need to get down to the bare wood. I just sanded the old finish off.

After I was done sanding, I wiped down the dresser with water and a lint-free cloth.
Step 2 – Priming:
Depending on your furniture and paint that you’re using, you may be able to skip this step. When I’m using chalk paint, I don’t use primer. Chalk paint would have cost $8-10 per color, whereas the Valspar color samples (latex paint) were only about $4 each.

Primer gives the paint something to stick to and prevents the paint from peeling. Primer also block any stains in the wood from bleeding through to the paint.
It’s okay if the primer looks splotchy because it’s going to be covered up with paint.
Step 3 – Painting:

I originally planned on having one color per drawer. However, I loved the way the colors blended together and decided to go for all the colors of the rainbow. After I painted the dresser with the main colors, I used my paintbrush to blend colors on the dresser. I wasn’t getting the kind of blending I wanted, so I mixed colors into bowls to get my secondary colors (orange, green, dark blue, blue-purple). I used sponges to add these colors onto the dresser. In total, I added about 3 coats of paint.

After I was happy with the way it looked, I used a small brush to paint some subtle metallic accents onto the dresser.

I decided to keep the original hardware that came with the dresser, and spray painted it with 3 coats of gold spray paint.

Step 4 – Sealing:
Sealing protects the finished piece and prevents it from getting damaged. I used 3 coats of Minwax Polycrylic Protective Finish (Satin sheen), and used 320 grit sandpaper to sand in between each coat.
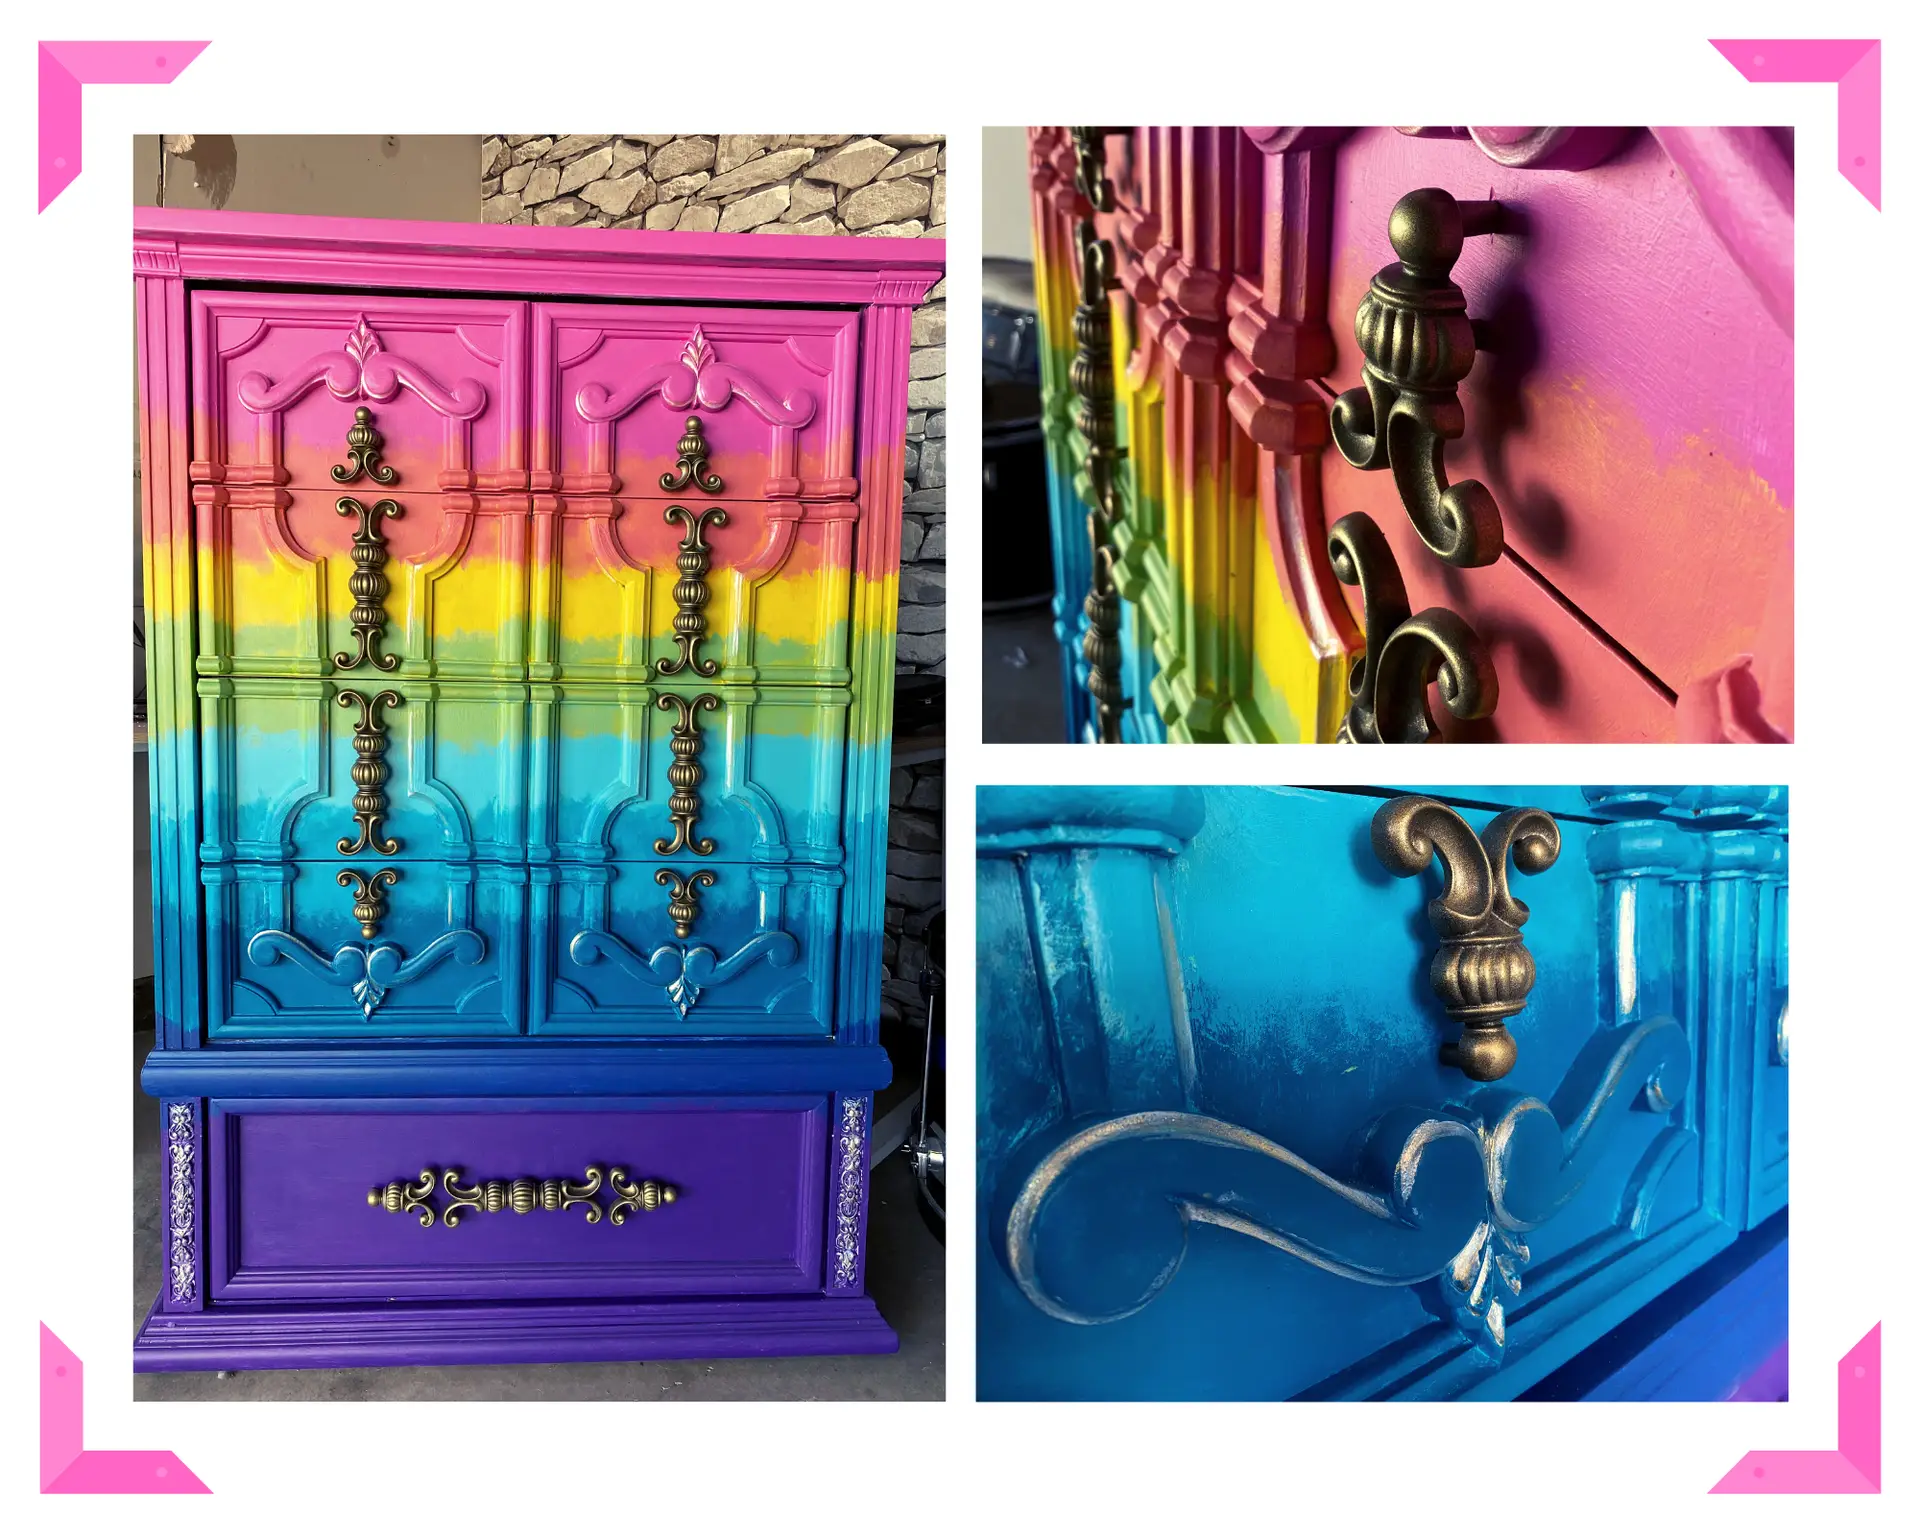
Step 5 – Reveal:
Once everything was dry, I reattached the hardware. I was initially unsure whether the metallic gold spray paint I used would be “shiny” enough, but I’m really happy with how it came out! This dresser is a one-of-a-kind piece that makes my inner child extremely giddy.


This project took me about 15-20 hours to complete and cost about $100 in supplies, most of which I’ll be able to reuse for future projects. I’m not really sure what to do with the dresser now, as I already use the galaxy dresser I made a while back. Maybe I’ll use it to store my craft supplies!