How to Make an Art Journal
I’ve always enjoyed working with my hands and doing all sorts of crafts, including collages. I’ve also collected all sorts of things: stickers, ticket stubs, inspirational quotes, pictures. However, I found that I was just storing these items in folders or boxes. I felt bad because I wanted to display them somehow, but wasn’t sure how to go about it.
Enter the art journal.
What’s an Art Journal?
An art journal is a visual diary of sorts and a great way to creatively express yourself. I love art journaling because it gives me the freedom to create whatever I want. There’s no right or wrong way to go about it. If I feel like I “messed up” or don’t like what I made, I can always cover up a page and start over. I also find it to be meditative and therapeutic; I always feel relaxed when I’m done art journaling.
I really enjoy working with different mediums: paint, water colors, stickers, collages. I put together these different elements to create something new.
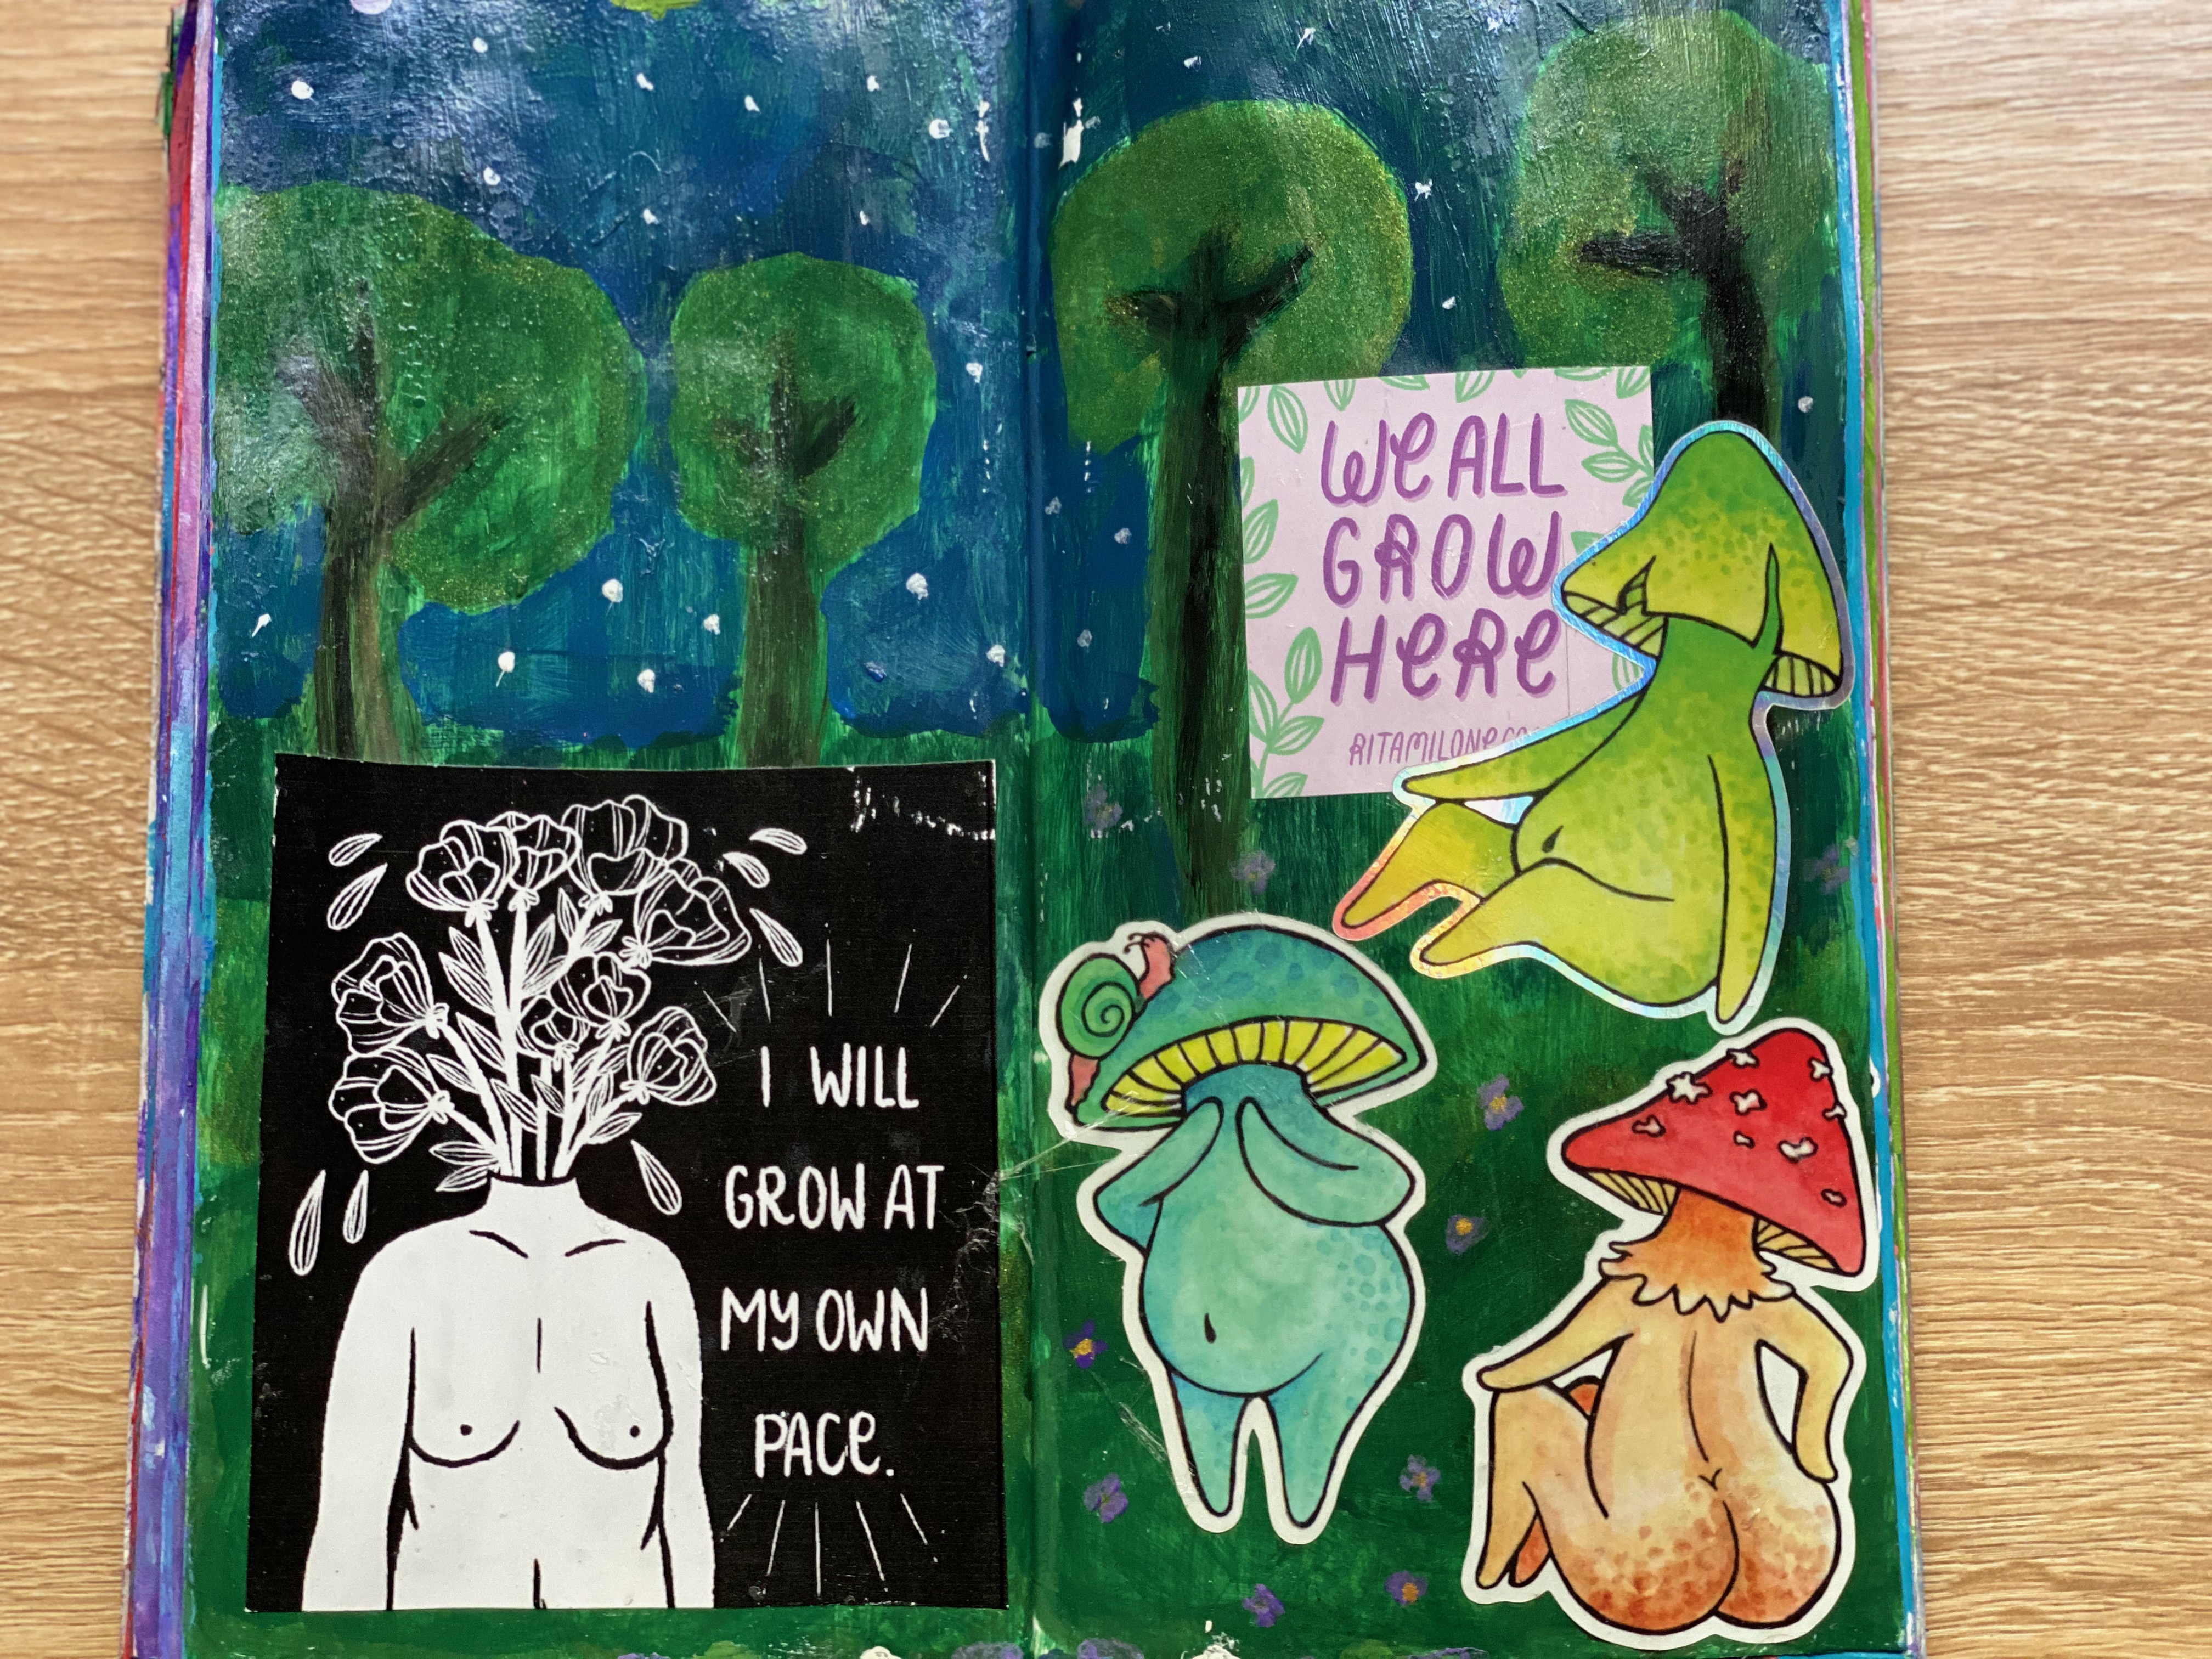
Here are some of my art journal pages:


For a more detailed flip through, check out the following video:
Art Journal Supplies
Another thing I enjoy about art journaling is that you don’t need fancy or expensive art supplies. I got most of mine from the dollar store. Crafts stores like Michaels and Jo-Ann regularly have sales as well. As you experiment with different mediums, you’ll also figure out what types of supplies you want to use.
Here are some supplies you might start with:
- A journal or notebook
- Stickers
- Stencils
- Magazines
- Glue stick
- Paints and paintbrushes
- Colored pencils, crayons, or markers
- Washi tape
- Pen or pencil
- Scissors
- Gesso
- Modge Podge
- Poster board and/or surface to craft on – especially if you plan on using paint

As I mentioned earlier, there really isn’t a “right” way to art journal. That being said, I understand how intimidating it can be to start something new so I’ve detailed my process below.
You can either watch the video or read through the rest of this post.
Step 1: Making a Background
I usually paint* my pages with a couple of coats of acrylic paint. Sometimes I know exactly what color I want, and other times I will experiment until I’m satisfied with what I see. For example, I initially started with red for these pages – but then I decided I wanted more of a pink.

*Depending on the thickness of your pages and if you plan on using paint, you may want to prepare your pages with some Gesso before painting them. Gesso is a primer that makes your pages more stiff and prevents the paint from bleeding through.
After the paint dried, I decided I wanted to add hearts to the background so I used a stencil and colored pencil to do just that.

Step 2: Adding More Elements
I periodically cut out images or quotes from magazines that inspire me. I store these in a folder, and whenever I want to art journal, I’ll look through them to figure out which ones I might want to use. I’ll do the same with stickers. I’ll spend some time arranging the different elements together before glueing or sticking anything to the page.
For example, I used this “empowered women empower women” quote from a magazine and combined it with some stickers I had of different women.

Step 3: Sealing
This last part is totally optional. In the past, I’ve found that my magazine cutouts might peel off over time. Sealing the pages with Modge Podge helps prevent that. There are various finishes – I’m partial to the glossy kind. Some times using the Modge Podge will change the colors of other elements, too.
For example, in the pages below, the Modge Podge made the hearts more of a hot pink.
If you use Modge Podge, just make sure the pages have fully dried before closing your journal. Otherwise, they can stick together. This has happened to me a few times. To prevent this from happening, I leave my journal open for at least half an hour, and sometimes overnight.


