How to Make a Magical Chalkboard
What makes a chalkboard magical? For me, it’s all the possibilities it represents. It can serve as a space for making lists, writing inspiring messages, or drawing pictures. When these no longer serve you, you can erase them and start with something new.
Materials:
- Chalkboard paint
- Brushes
- Frame (optional)
- Measuring tape
There’s a few ways to go about this. You can find a board to paint and put it up on your wall. Or you can paint your wall.
We decided to paint the wall and then build a frame around it. If you opt to go this route, you’ll need to sand down any texture on the wall to ensure it’s a smooth surface. Not only will this make painting the wall easier, it will make it easier to write on and erase. Otherwise, chalk bits get trapped in the texture in the wall.
We originally skipped this step in hopes of saving some time, only to have to go back to sand and repaint the wall. You can notice the texture (raised surfaces) in the picture below.

Steps:
- Measure out the space – how big of a chalkboard wall do you want?
- Put some painters tape to mark the edges of your chalkboard wall
- Paint inside the taped lines
- If you want to frame your chalkboard wall, there’s a couple of ways you can go about it. If your chalkboard wall is a common frame size, you can find a picture frame to put up around your chalkboard wall. Otherwise, you can find some floor board trim molding and build your own frame. There are tons of tutorials online!
- Before you write on your chalkboard wall, you’ll need to “season” it. This involves taking a piece of white chalk and covering the whole wall with it, and then wiping it clean. If you don’t do this, then there will always be a faint outline of whatever you write or draw.
Tips:
- Check your chalk: I originally bought some chalkboard markers because I thought they would be easier to use. I neglected to notice that these markers weren’t meant for porous surfaces like walls. It wouldn’t erase completely and I ended up having to repaint certain spots.
- Spray bottle of water + cloth is best for using to wipe the chalkboard. You can also mix a bit of vinegar with the water. The longer the chalk is up on the board, the more work it will take to clean. You can always repaint spots that aren’t coming clean, too.
It was after trying to erase the drawings below that we realized we would need to sand the wall and paint it again.

This is what our chalkboard wall currently looks like. There’s some areas where it’s not totally flat or smooth but it’s much easier to erase compared to before, and there aren’t as many bits of chalk getting trapped in the texture.

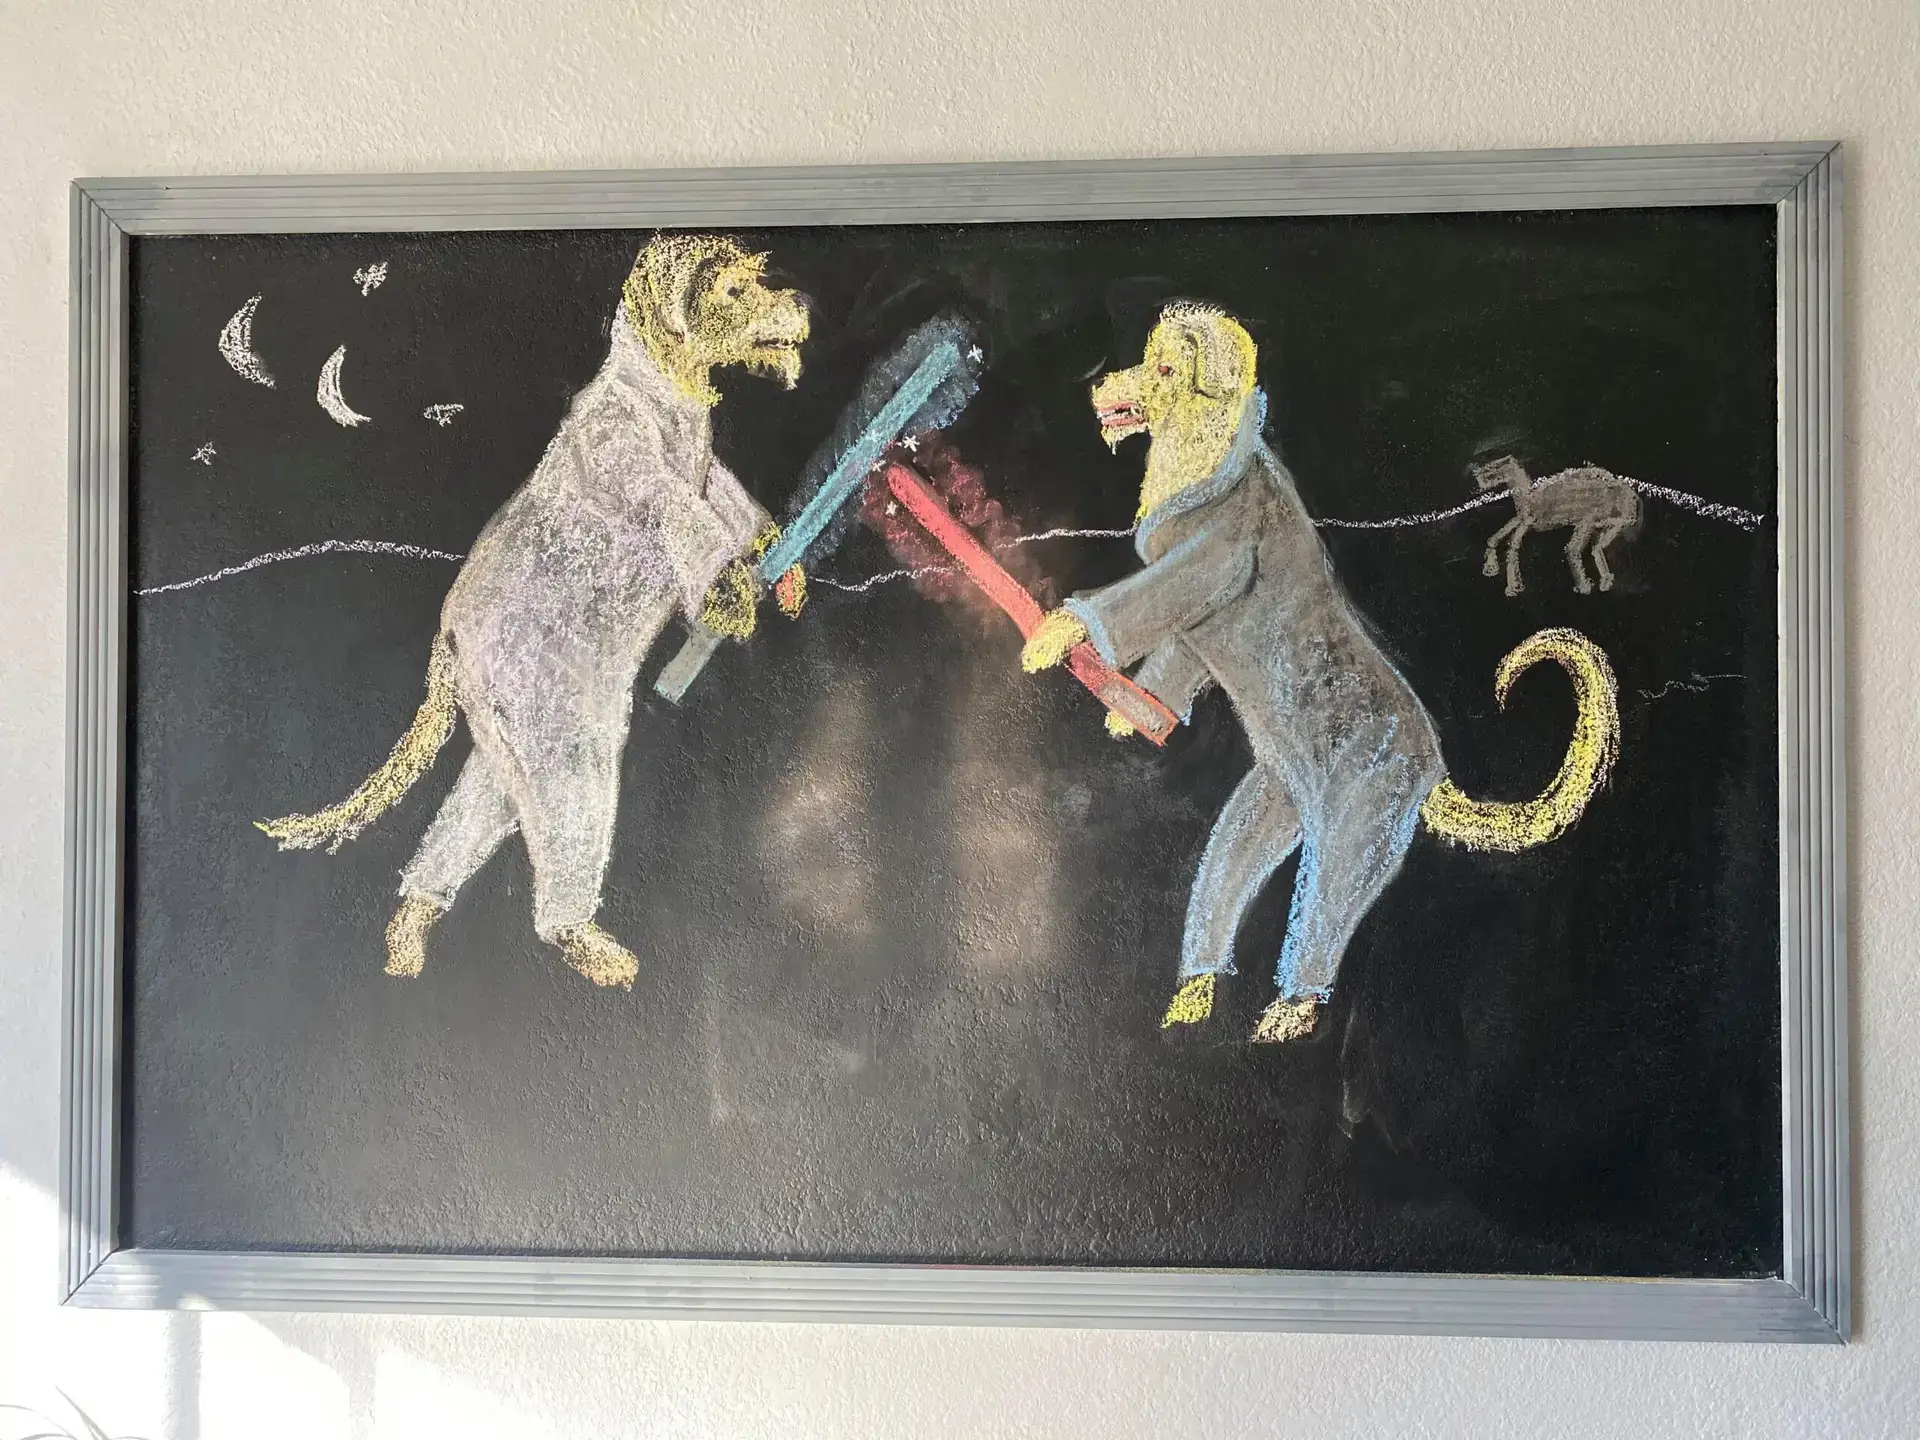
One of the reasons we made a chalkboard wall is because we wanted a space for all our friends and family to use whenever they came to visit. We have so many creative people in our life and it’s fun to see what they come up with. My mother-in-law, Robyn Alatorre, drew the image above that features our dogs having a light saber battle. To be honest, it’s going to be hard erasing that on account of how amazing it is…
If you end up making your own chalkboard wall, please share it! I’d love to see what you create.
Similar Posts
